
 Forms Renderer
Created by Orckestra
A Guide to Creating Data Types
- Introduction
- Creating and Managing Datatypes
- Creating and Managing Fields
- Widgets
- Creating Specific Fields
- Using Input Forms with Datatypes
- Test Your Knowledge
Creating and Managing Datatypes
Before you learn how to create datatypes, you will have a brief overview of different kinds of datatypes available in Composite C1. You will also find out about general properties of global datatypes and learn how to add items to these datatypes and make the datatypes available for use in the Content perspective.
C1 datatypes allows you to store structured data and reuse it on your websites.
The data you can reuse in C1 has its scope of visibility. Global data can be accessed and reused across multiple websites and web pages. Page data and metadata is available within one web page.
Accordingly, C1 provides you with three kinds of datatypes:
- Global datatypes
- Page datafolders
- Page metatypes
The Global datatypes represent data reusable across all web pages on all web sites created in C1.
The Page datafolders represent data associated with one specific page. When created, this datatype results in a data folder linked to the page and the editor can store page-specific data in this folder. The data in one page datafolder is not available for other web pages.
The Page metatypes represent flexible metadata structures assigned to a page or a section of the website.
The primary focus of this guide is on global datatypes, which allow you to store and reuse data across multiple web pages.
In the following few chapters and sections you will learn how to create global datatypes, how to set their properties, how to add fields to these datatypes and how to use forms with datatypes on web pages.
While creating a datatype, first, you should set the properties all global datatypes share. Then, you should add fields to the datatype and set properties of each field added.
To create a global datatype:
- In the Data Navigator, select Global datatypes and click Add Datatype on the toolbar. The datatype settings editor opens in the working area.
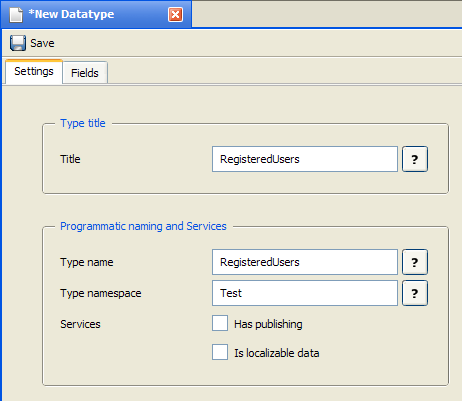
- On the Settings tab, set the datatype’s general properties such as its Title, Type name, Type namespace.
Figure 2: General datatype properties
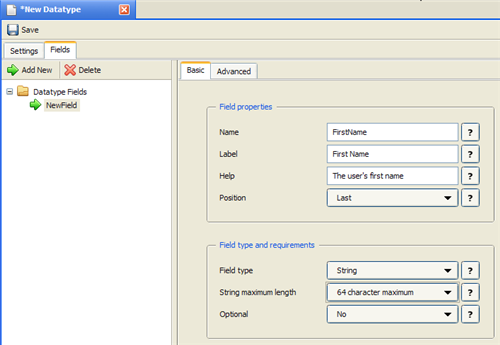
- On the Fields tab, click Add Field and on the Basic tab of the field settings editor, set the field’s basic properties.
Figure 3: Basic field properties
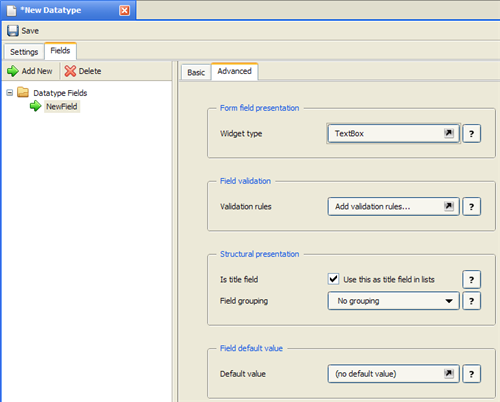
- If necessary, click the Advanced tab and set the field’s advanced properties.
Figure 4: Advanced field properties
- Repeat Steps 3 and 4 for as many fields as you need to add.
- Save the datatype.
The datatype appears under Global datatypes in the Data Navigator.
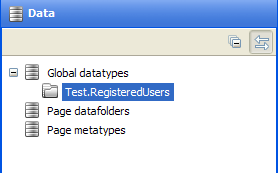
Figure 5: New global datatype
General Properties of Datatypes
The general properties of a datatype are grouped on the datatype’s Settings tab. The following is the list of these properties:
Global Datatype: General Properties | |
Property | Description |
Title | A user-friendly name of a global datatype used in most GUIs in C1. This name appears in the Data Navigator when the datatype is saved. |
Type name | A technical name of a global datatype mostly used in code. It cannot be changed once used externally. |
Type namespace | A namespace to group several datatypes together. This name appears in the Data Navigator if new when the datatype is saved. Otherwise, the datatype appears under the existing namespace specified. |
Has publishing | When checked, this option indicates that the data items added to this datatype will need publishing manually. When cleared, it indicates that the data items will be published automatically once saved. |
Is localizable data | This option appears only if two or more locales (languages) are installed in C1. When checked, this option indicates that the datatype can be localized. |
Making Global Datatypes Available in Content Perspective
Editors do not need to necessarily have access to the Data perspective in C1, particularly if they do not create datatypes but only use them. For this purpose, the existing global datatypes can be made available in the Content perspective.
To make global datatypes available in the Content perspective:
- In the Data Navigator, locate and right-click the datatype you need.
- In the context menu, click Show in Content perspective.
Figure 6: Show in Content perspective
- Switch to the Content perspective. The global datatype is now available here under Data.
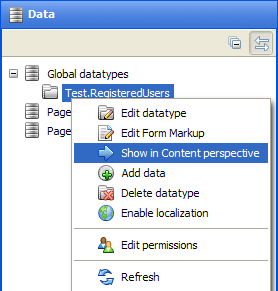
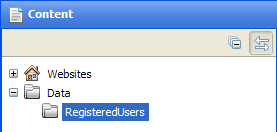
Figure 7: Datatype in Content perspective
If you right-click the datatype in the Data perspective again, you will see a check mark next to Show in Content perspective, which indicates that this datatype is already available in the Content perspective.
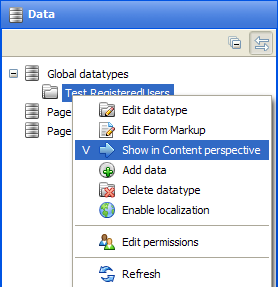
Figure 8: Indication of the datatype available in Content perspective
By clicking this menu command again, you will remove this datatype from the Content perspective. The datatype itself will remain untouched in the Data perspective.
Once you have created a global datatype, you should fill it with structured data that will be available across your websites on all the web pages.
You can fill the global datatype by adding data items to it. When adding a data item, you enter values in the fields added to this datatype. Each datatype has its own set of fields.
You can add data items not only in the Data perspective but also in the Content perspective if you make the datatype available in the Content perspective.
By using input forms on the web pages, you can allow the users who visit your websites to fill the datatypes with data from their web browsers.
To add a data item:
- In the Data Navigator, locate and select the datatype you want to add a data item to.
- Click Add Data Item on the toolbar. The datatype item editor opens in the working area.
- Fill out the datatype fields.
Figure 9: Adding a data item
- Click Save. The data item will appear under this datatype.
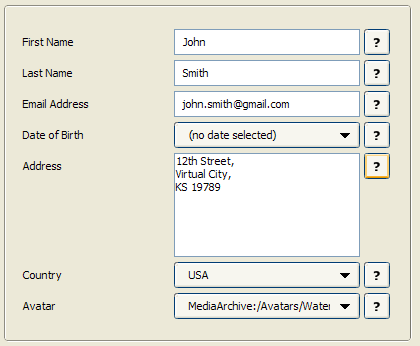
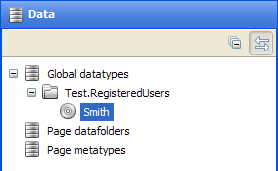
Figure 10: A data item added