
 Image Crop
Created by Orckestra
Image Crop User Guide
Cropping Images
After you have installed the add-on, a new command “Crop” will appear on the toolbar and in the context menu when you select an image in the Media perspective.
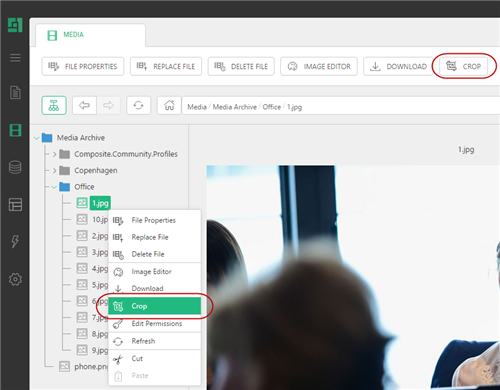
Figure 2: Crop commands in the toolbar and the context menu
To crop an image:
- In the Media perspective, select an image file.
- Click Crop on the toolbar. The Crop Image window will show the image and cropping options.
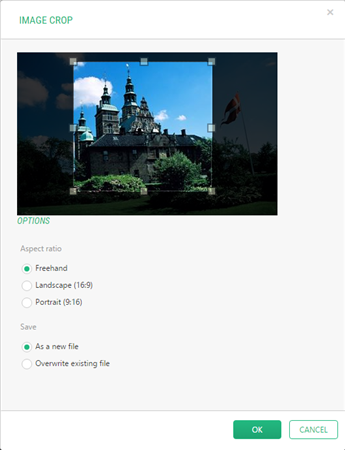
Figure 3: Image Crop window
Here you have two options as to how select the cropping area (Aspect ratio) and two options as to how to save the cropped image (Save).
Cropping images without keeping an aspect ratio
To crop an image without keeping an aspect ratio:
- Select the "Freehand" option (default) for the Aspect Ratio.
- Drag the handles on the cropping selection to change the sizes.
- Click OK.

Figure 4: Cropping an image freehand
Note: The aspect ratio is not kept with this option.
Cropping images with a predefined aspect ratio
To crop an image with a predefined aspect ratio:
- Select an aspect ratio other than ""Freehand". This could be "Landscape (16:9)", "Portrait (9:16)" or any other available.
- Drag one of the handles on the cropping selection to change the sizes proportionally.
- Click OK.
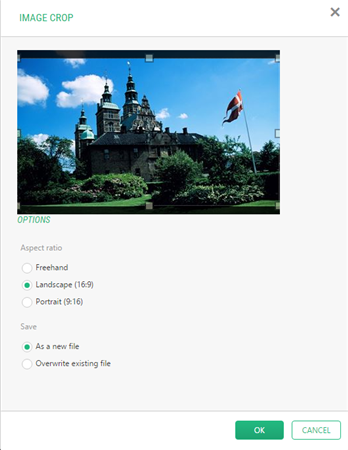
Figure 5: Cropping an image with the aspect ratio 16:9
When selecting an aspect ratio option, the selection area gets maximized.
If the aspect ratio is, for example, 640:480, selecting an area smaller than 640x480 (in pixels) is impossible. If the original image is smaller than a specific ratio, all the aspect ratio options that do not meet the ratio will be unavailable.
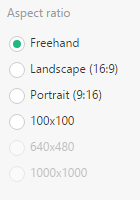
Figure 6: Some aspect ratio options are unavailable
The actual aspect ratio is always reduced to the minimum integer numbers proportionally. For example, if the aspect ratio is 600:900, it actually is 2:3.
Cropped images are saved in PNG format regardless their original format - except for JPEGs, which are saved as JPEGs.
By default, you save the cropped image as a new file named after the original file name plus the aspect ratio option’s name appended, for example, “My Image (19x6)”.
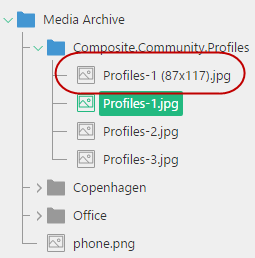
Figure 7: Saved as a new file
If you would overwrite the file rather than saving it as a new file:
- Select the "Overwriting an existing file" option in the Image Crop window.
- Click OK.
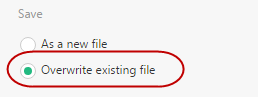
Figure 8: Overwriting an existing file