
 Form Builder
Created by Orckestra
Form Builder User Guide
- Introduction
- Inserting New Forms
- Editing Forms
- Adding Fields to Forms
- Editing Field Properties
- Viewing submitted data
- Receiving Submitted Data by Email
- Test Your Knowledge
Editing Forms
Each form you add on page has a name, fields and a number of other parameters such as the use of CAPTCHA, submit actions or the receipt text.
All these components and parameters are conveniently grouped on 4 tabs in the Form Builder window:
- Settings
- Designer
- Submit Actions
- Receipt
On the Settings tab, you can specify the form’s general settings such as:
- Name: The name of the form (mandatory). It identifies the form, for example, helps identify submitted data in Forms Submissions.
- Submit Button Label: The label text of the submit button. ”Send” by default.
- Security: Disabled by default. Allows you to configure your form to use HTTPS
- Anti Spam Protection: If the “Use CAPTCHA” option is selected, the CAPTCHA image will be displayed on the form to prevent spam submissions.
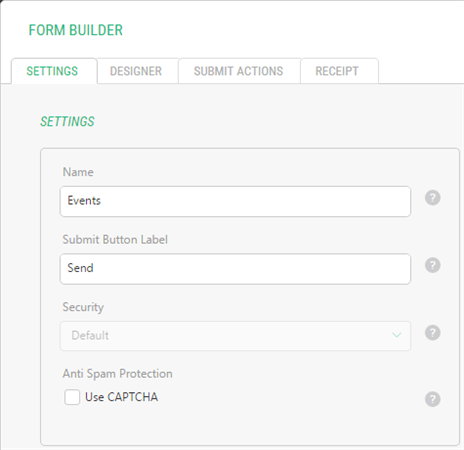
Figure 8: Settings tab in the Form Builder
- If you have two or more forms with the same name, the submitted data from all the forms will be combined.
- If you rename the form, the data submitted after that will be saved and treated separately according to the form’s new name.
- The security options are disabled by default. Only the default (HTTP) option is available and used. The secure HTTP option is “hidden” in the Form Builder. It can be enabled in the Form Builder’s configuration file. (This topic is discussed in the “Form Builder Developer Guide”.)
The Designer tab features a user-friendly WYSIWYG form field editor.
Here, you can conveniently add fields and other components by dragging them from the left pane (Component Library, Text & Decorations) and dropping them on the form (middle pane). Here, you can also change the properties of each field or component on the form properties, for example, its name, label, or default value.
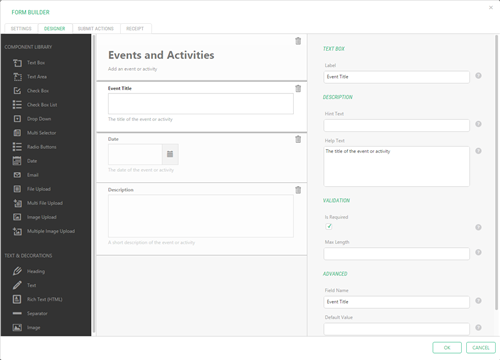
Figure 9: Designer tab in the Form Builder
Please see the corresponding chapters further in this guide about adding fields and editing their properties.
On the Submit Actions tab, you can select what actions the form will do when the user submits data.
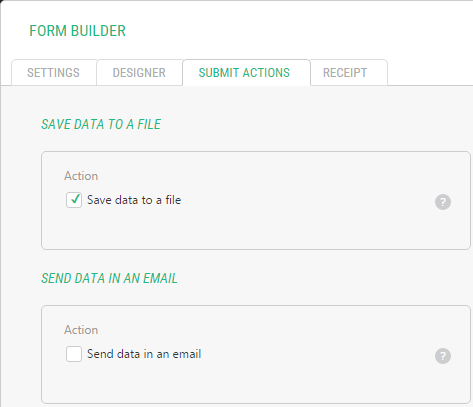
Figure 10: Submit Actions tab in the Form Builder
There are two submit actions available out-of-the-box:
- Save to data to a file
- Send data in an email
By default, the option “Save to data to a file” is only selected. All the submitted data are saved to XML files named after the form’s name in ~/App_Data/ FormBuilderData on the website.
When selected, the “Send data in an email” option allows you to receive submitted data by email. Please see “Receiving Submitted Data by Email” for more detailed information.
Note. The Form Builder can be extended with custom submit actions and the existing submit actions can be modified or even removed. Custom submit actions are not discussed in this guide and are the topic of the “Form Builder Developer Guide”.
On the Receipt tab, you can change the text displayed to the user on the page after he or she successfully submits data via the form.
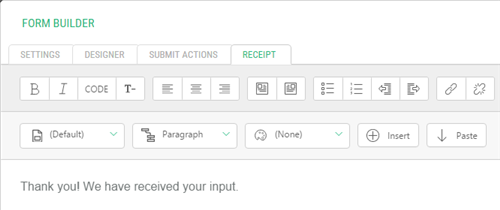
Figure 11: Receipt tab in the Form Builder