
 Event Calendar
Created by Orckestra
Event Calendar User Guide
- Introduction
- Adding the Event Calendar to a Website
- Creating Events
- Showing Event Teasers
- Creating Locations
- Creating Signup Configurations
- Customizing Email Notifications
- Customizing Signup Forms
- Test Your Knowledge
Adding the Event Calendar to a Website
To start using the event calendar on your website, you should:
- Meet pre-installation requirements (the email host, Forms Renderer)
- Install the Event Calendar add-on.
- Set up a page that will host the event calendar.
The first two steps are described in the previous chapter. Now let’s see how you can set up the event calendar.
You have two options:
When you create a new page that will host the event calendar, you should select the Event calendar page type for it. This will automate a few setup steps and all the required functionality will be in place immediately.
- In the Content perspective, add a page by selecting the parent page and clicking Add Page on the toolbar.
- In the Add New Page window, enter the title for the page in the Page title field, for example, “Events”.
- In the Page type list, select “Event calendar” for the page type.
- Click Finish.
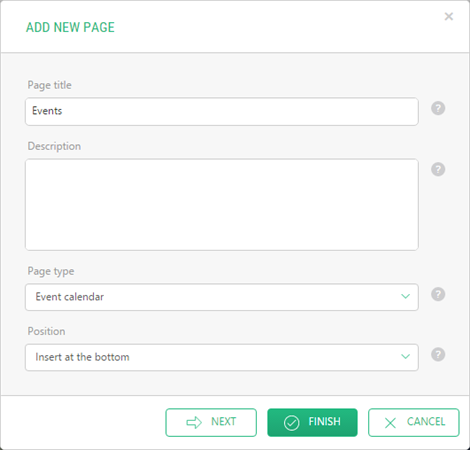
Figure 2: Creating a page for the event calendar
The “Event calendar” page type adds these components:
- the Event Calendar application to the page
- the EventCalendarAndSignup function on the page
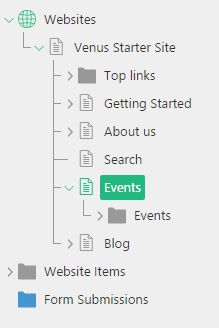
Figure 3: The event calendar (the application) added to the page
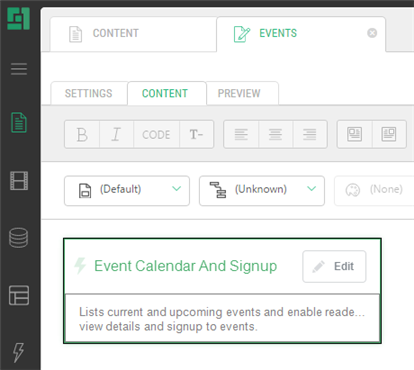
Figure 4: The event calendar (the function) added to the page
If you want the Event Calendar on an existing page, you should add the Events application and the EventCalendarAndSignup function to the page manually.
To add the Event Calendar application to an existing page:
- Right-click the page that will host the event calendar.
- In the context menu, click Add Application.
- In the Add Application window, select “Event Calendar” in the Application dropdown list.
- Optionally, select the Top or Bottom position in the Position list.
- Click Finish.
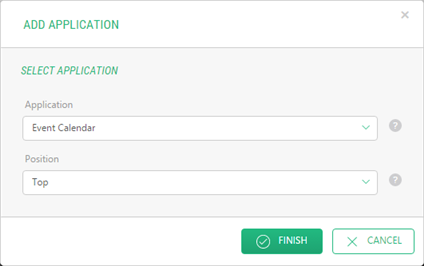
Figure 5: Adding the Event Calendar application
To add the EventCalendarAndSignup function on an existing page:
- Edit the page. This must be the same page you have added the Event Calendar application, too.
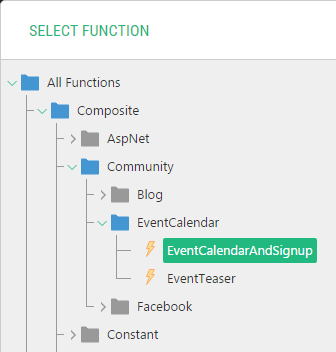
- On the Insert menu, click Function, locate and select the Composite.Community.EventCalendarAndSignup function and click OK.
Figure 6: Selecting the EventCalendarAndSignup function
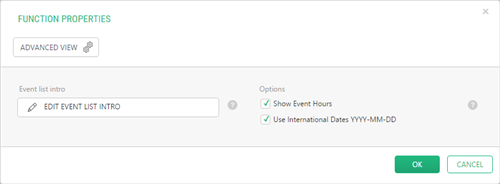
- If necessary, set its optional parameters and click OK. The parameters are:
- Event List Intro: Custom content to show above the event list (default view). This content will not show up on more detailed views and is intended as a general introduction to your event list.
- Options: Additional options of the event:
- Show Event Hours: If true, dates will be shown with the hours (hh:mm). False by default.
- Use International Dates: If “true”, dates will be shown in the internationally recognizable format YYYY-MM-DD; otherwise, a localized short date format will be used. False by default.
Figure 7: Setting the function’s parameters
- Save and publish the page.
Once you have set up the event calendar, you can start using it by adding events.