
Facebook and Windows Live validation using Windows Azure
If you are going to offer login-based services on your website you should decide if you want your users to remember a custom login for your website or if they should be able to use services like Facebook, Windows Live, Yahoo! or Google to identify themselves. Using a set of APIs, services and a little code you can fairly easily enable your users to log in to your website using a popular service like Facebook.
And below I will go through the steps needed to get it all up and running. I will be focusing on the setup and API bits, and go for a simple page that let you log in and then have it write “Hello (your name)”.
Windows Identity Foundation (WIF) offers APIs that help you identify users using federation. Coupled with Windows Azure AppFabric Access Control Service (ACS) your users can log in using a number of popular technologies and online services like Active Directory, Facebook, Windows Live and Google and you will have a uniform API, independent of the validation mechanism used.
To get the everything up and running you will need to install the WIF bits, configure the Access Control Service and write some ASP.NET code which talks to the WIF API.
So let's get started.
First of all:
- Install Windows Identity Foundation.
- Restart the computer.
- And then install Windows Identity Foundation SDK.
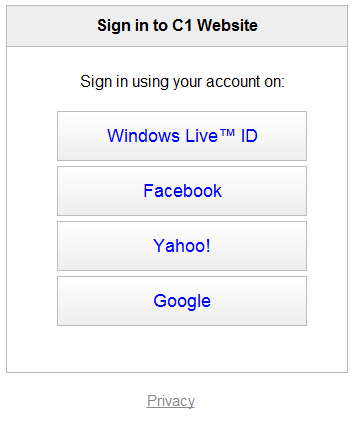
Next, with your Windows Live ID, log in to AppFabricLabs. This is where you will select identity providers, register your website as a relying party application and get your STS reference:
- Create an Access Control Service Namespace, and it is once activated, go to its Access Control Portal.
- Select the identity providers: Windows Live and Facebook.
- The preconfigured Windows Live provider is added by default.
- You should add a Facebook application-based identity provider manually. Please read "How To: Configure Facebook as an Identity Provider".
- Add your website as a Relying Party Application specifying its name as well as its URL in both the Realm and Return URL fields. 'localhost' (with the port number) is allowed for URLs.
- Generate rules for your website/identity providers.
- In the "Application Integration" section, copy the URL from the "WS-Federation Metadata" field. You will use it as an STS reference in the next step.
If this is something new to you, please follow the steps described in detail in "Registering at AppFabric".
Now, add the STS reference to your C1 website:
- Open the C1 website in Visual Studio 2010. I assume that you use Composite C1 v. 2.1.1.
- In the context menu of the website folder, click "Add STS reference" and follow the instructions.
- On the "Security Token Service" page of the wizard, select "Use an existing STS" and paste the URL from "WS-Federation Metadata" you have copied earlier.
If you open your website now, you will be redirected to the login page. (If not, please make sure you have followed the steps above as required.)
At this point, you will need to allow anonymous logins so that you could work in Composite C1's Administrative console etc:
- In web.config on your website, comment out
<deny/>to allow anonymous logins.
Later you may want to disallow anonymous logins by uncommenting <deny/>:
Now that you can control access to your website via two identity providers: "Windows Live" and "Facebook", you can use WIF API to implement access-related logic on your website.
For example, you can create a C# function that will display the name of the logged-in user:
- Create an external C# function and add it to C1. (Please read "Creating External C# Functions" for detailed information if needed.)
- Use this code as a sample of the function:
Presentation no longer available
(Your website already has a reference to Microsoft.IdentityModel.dll added, so you can use the WIF API right away.) - Insert this function on a page in Source mode.
- You need to disallow anonymous logins as described above to be able to first log in to the website.
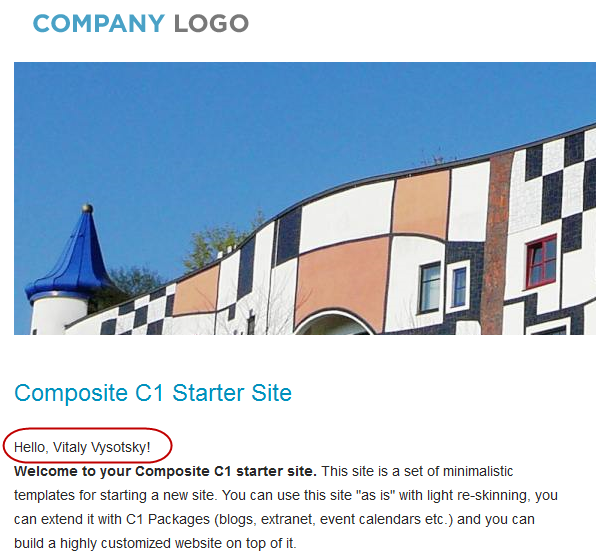
Once logged in, you'll see "Hello, (username)!" on the page, where (username) is the name of the user supplied by the used Identity provider.
To see how you can use WIF API to handle access to your website, check the Composite.Community.WIF package:
- Make sure you have allowed anonymous logins as described above.
- In the System perspective of the Administrative console, locate and install the Composite.Community.WIF package.
- Edit a template and insert Composite.Community.WIF.LoginForm where appropriate.
- Now open the website in your web browser. The Log In button will appear on pages. When you click the button, the login form will appear. Once you have logged in with one of the providers (for example, Facebook), you'll see your login status on pages and the Log Out button.
If you check \App_Code\Composite\Community\WIF\IdentityFunctions.cs, you'll see a number of functions that use WIF API to implement the access logic on the C1 website.